

Project Overview
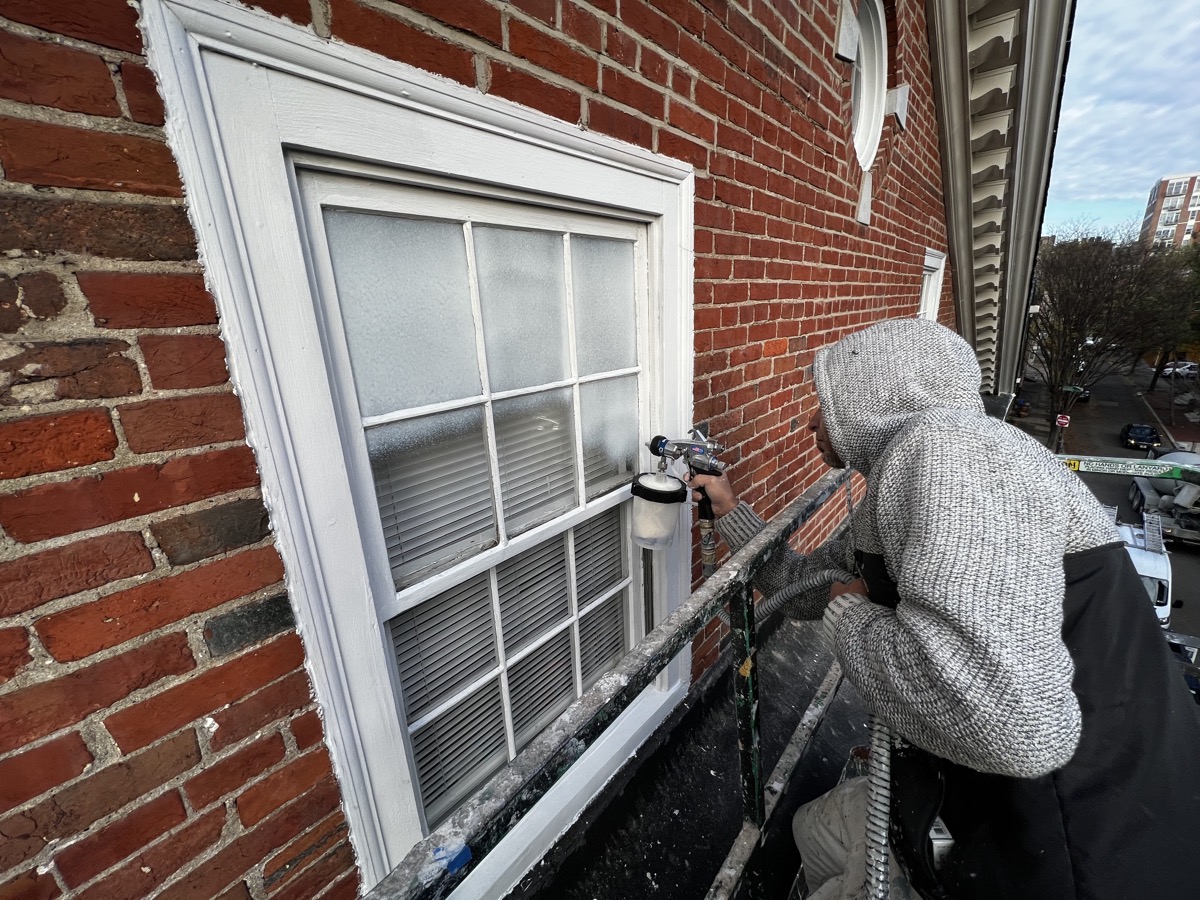
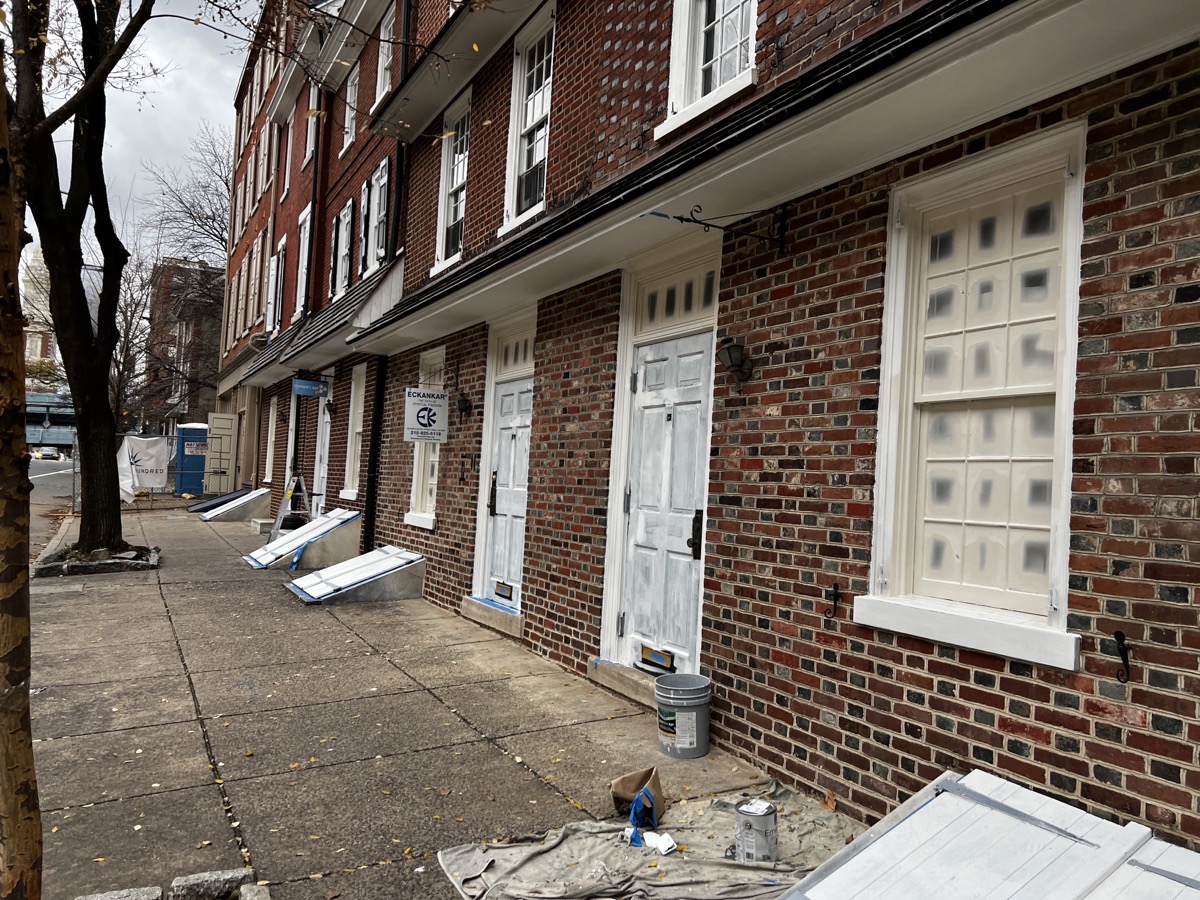
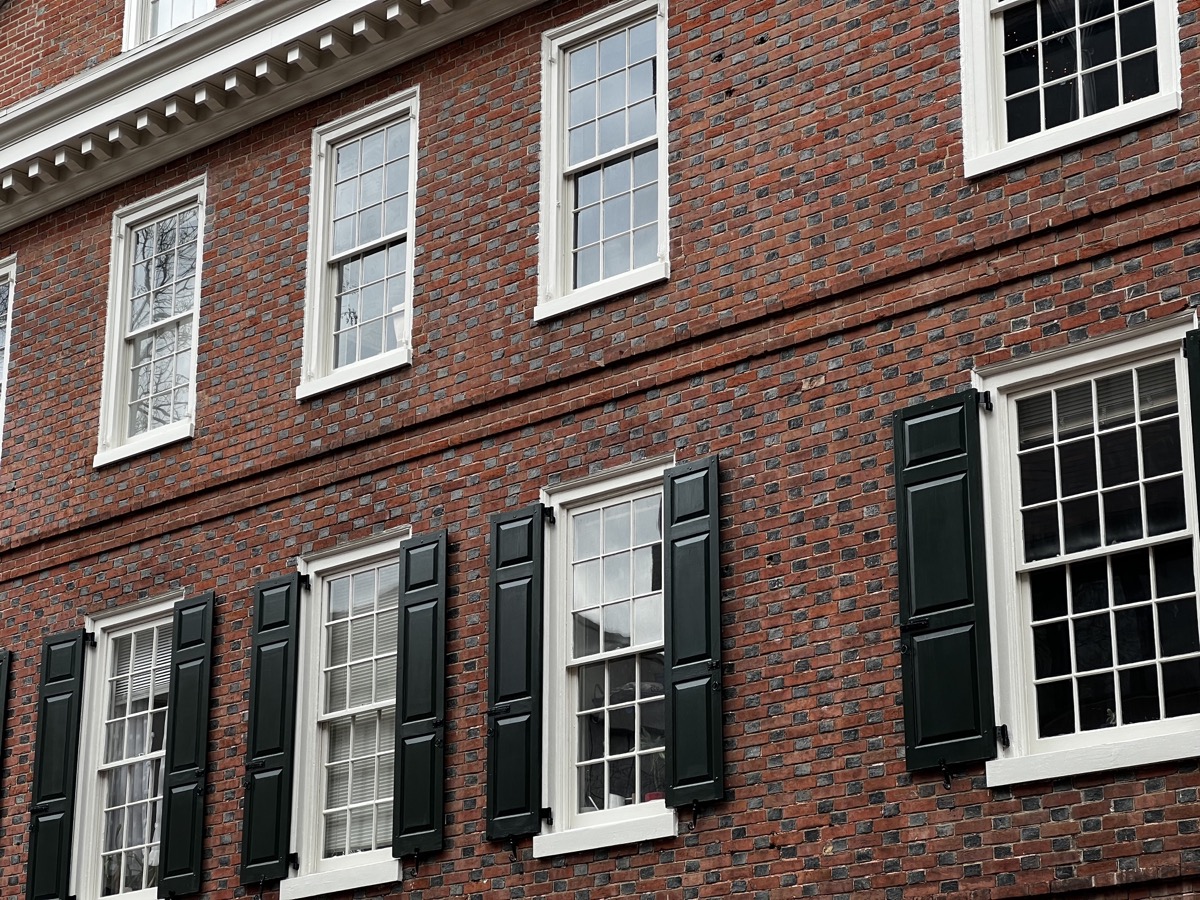
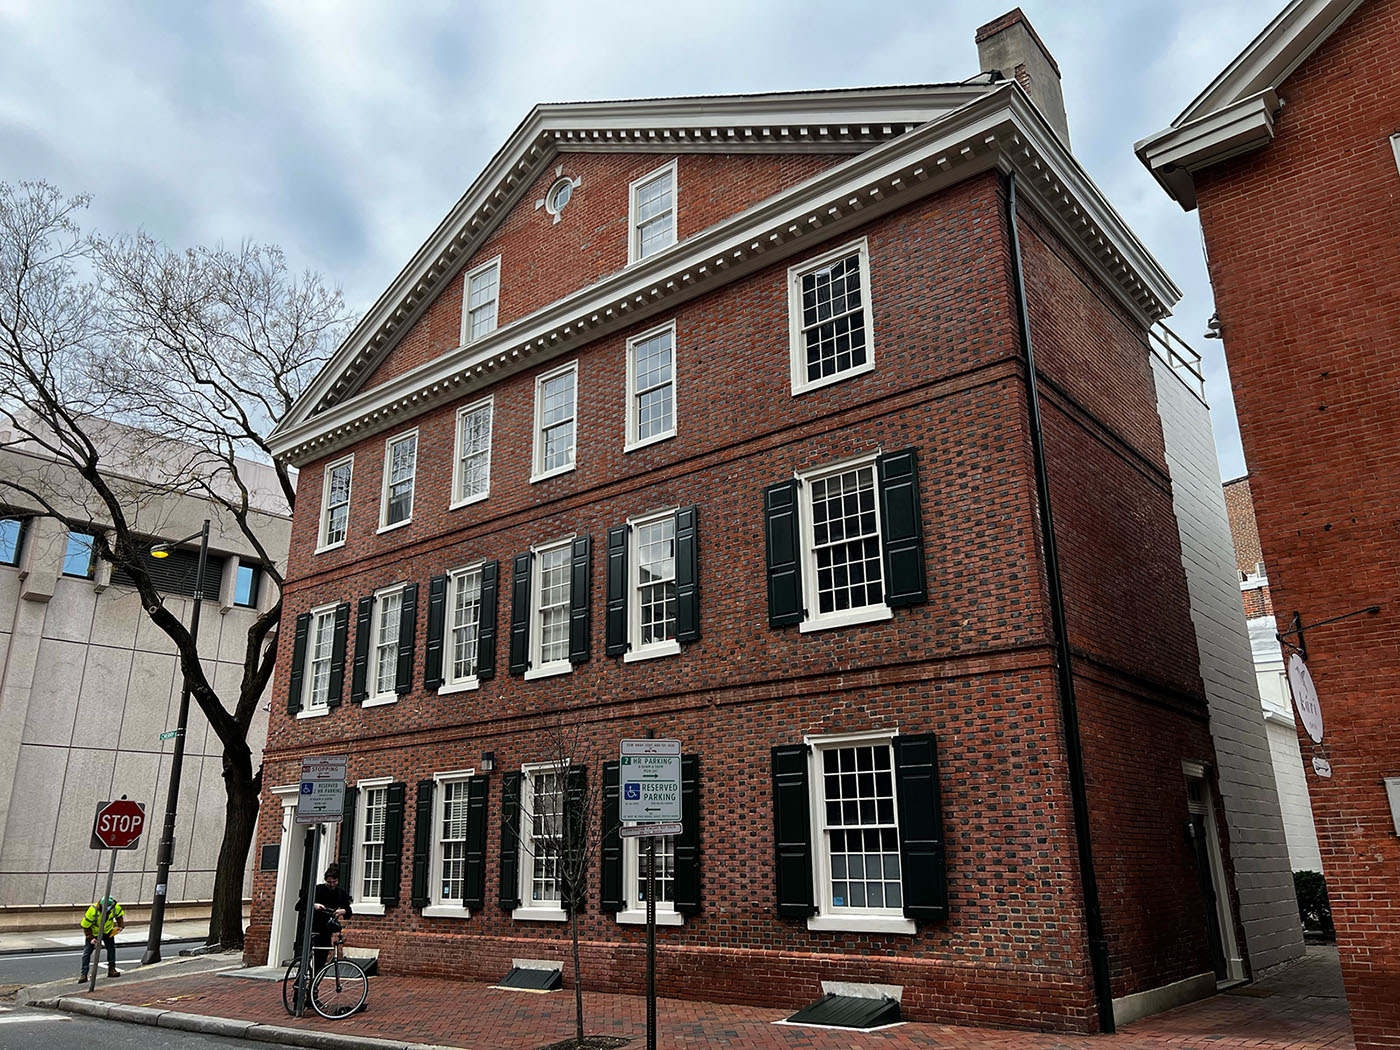
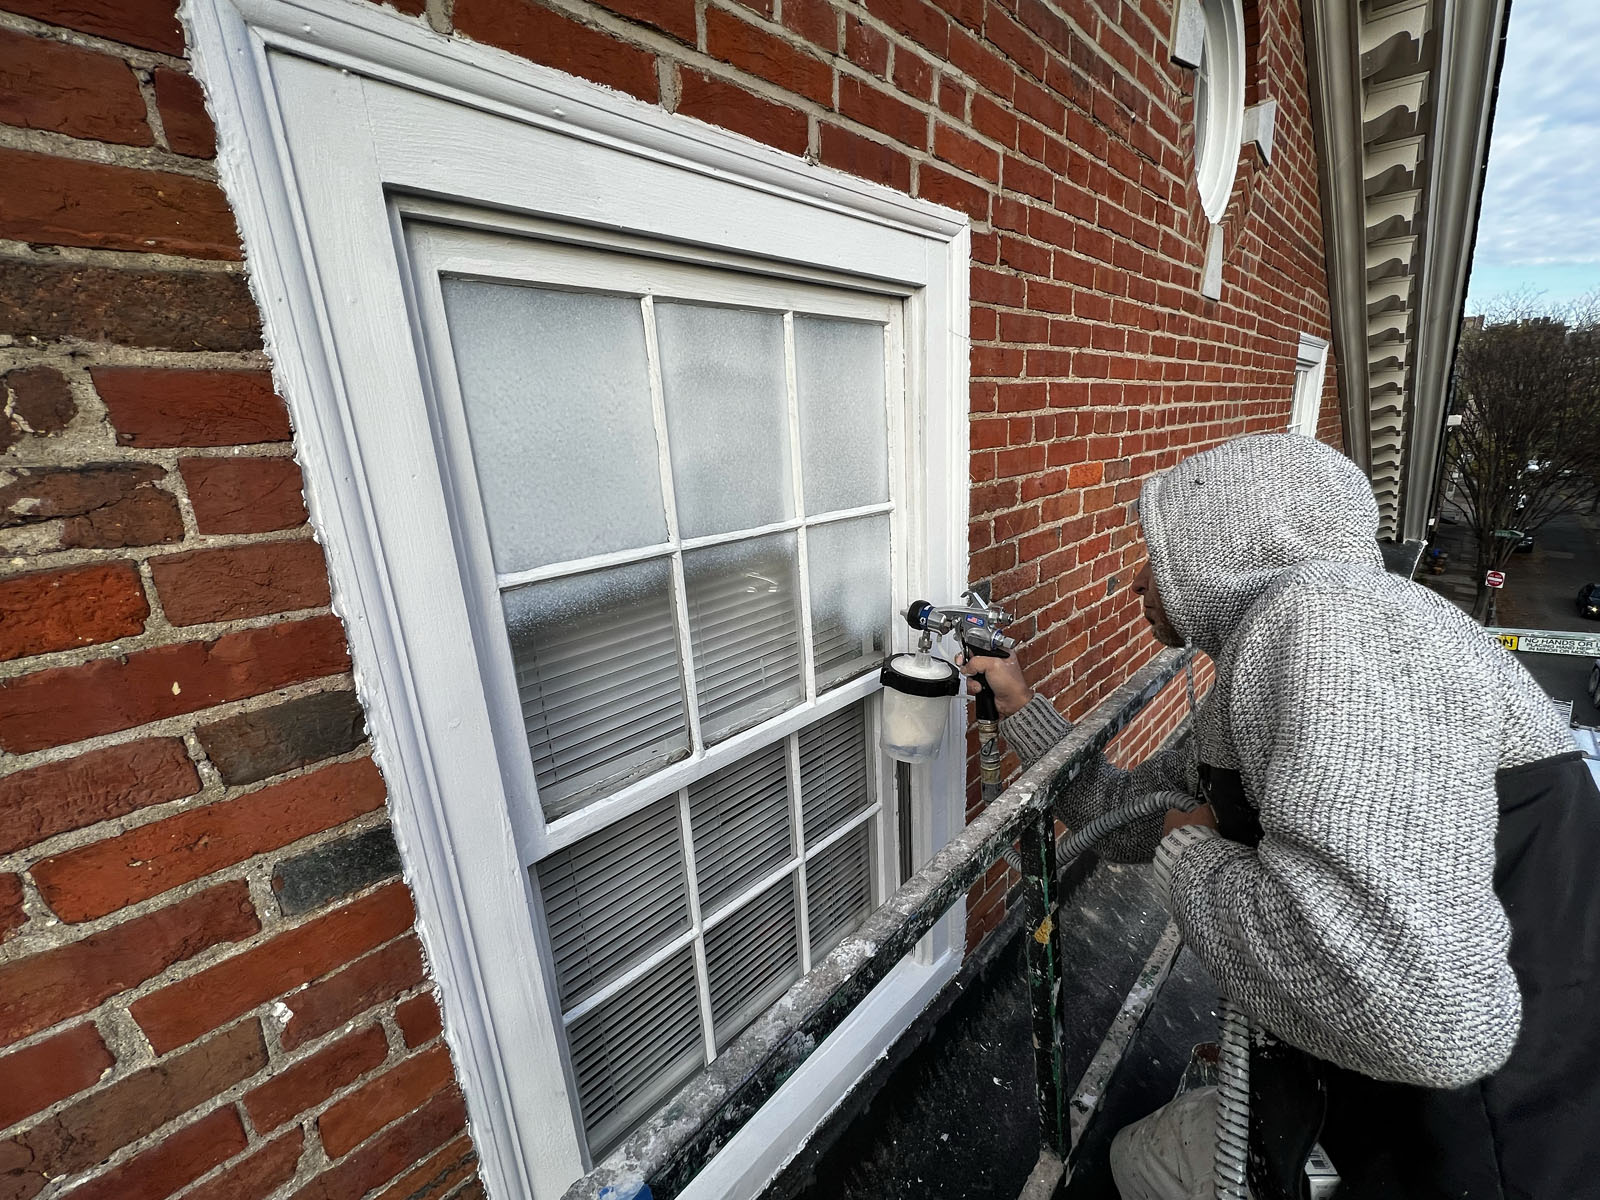
We were approached to restore these buildings in Old City and we were excited about the challenge! Over 80 windows all needing restoration, a massive cornice, and over 100 shutters! We decided to use a masking technique which allows us to use a professional sprayer to paint the windows. The results allowed us to move quickly while also applying more paint, which is always a plus.
As with all restoration, we follow our 10-step process to get the job done correctly:
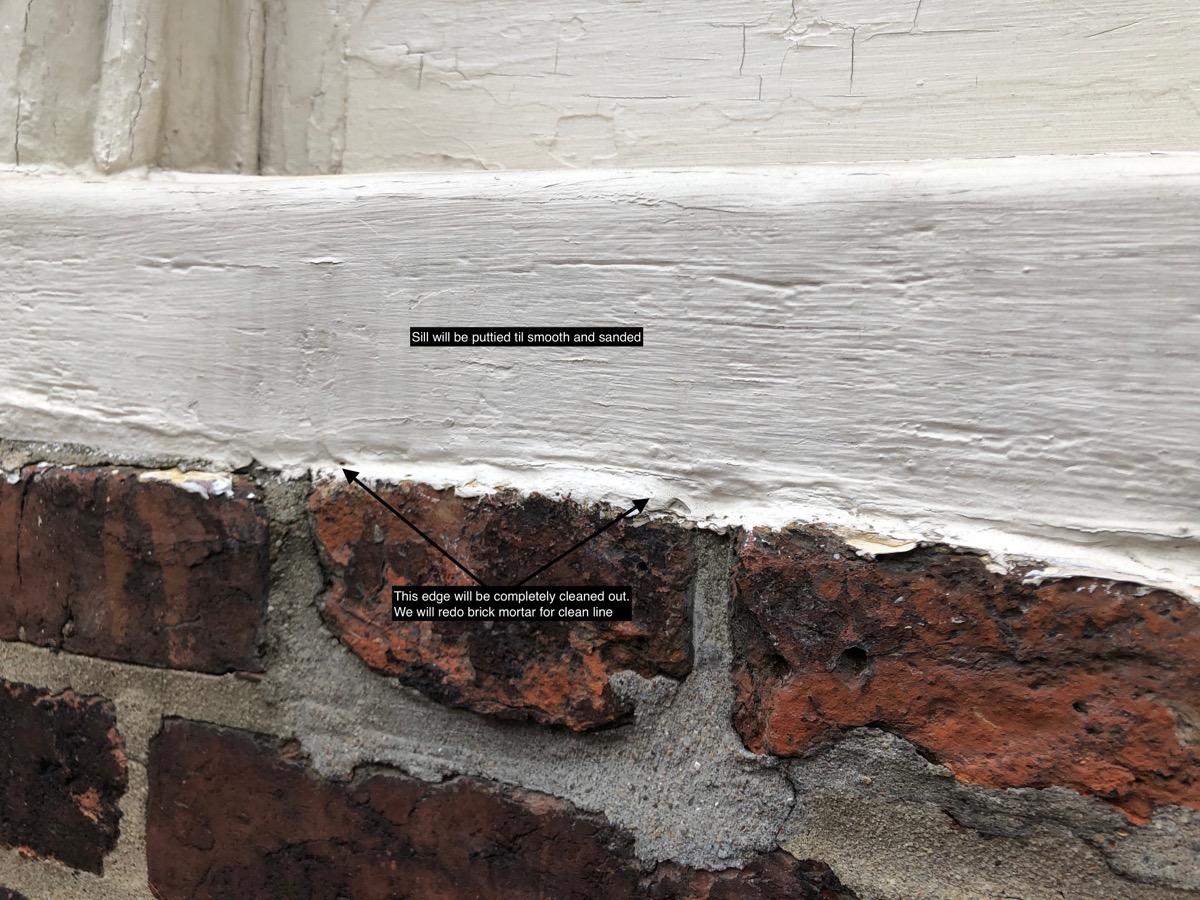
The first phase of D &D (as we call it) consists of scraping and sanding. The messy work! This is also a time of discovery. Is there wood rot? Do we need to take out all the caulk where it meets the trim? Will we need to do wood or masonry repair? Demolition is the time to make these decisions.
After everything has been scraped and sanded, and any rotted wood has been dug out, then we seal everything in with an oil-based primer. This stops the oxidation process. It seals in any lead or oil-based paint, which will react badly with water-base paint applied on top. We like to say that oil primer is like double-sided, sticky tape. It sticks to everything, and everything sticks to it!
The next phase is repair, namely applying wood fill, repairing wood, problem solving those items that are too expensive to replace but must be repaired.
Then we have to let things dry.
Any patching or glazing work will be sanded. Then we have to apply oil primer on top of any work that we have repaired. We called this “the primer sandwich”. The repair material sits in between two layers of primer. Skip this step, and apply paint directly to wood, filler, or patch, and the paint just will not stick properly.
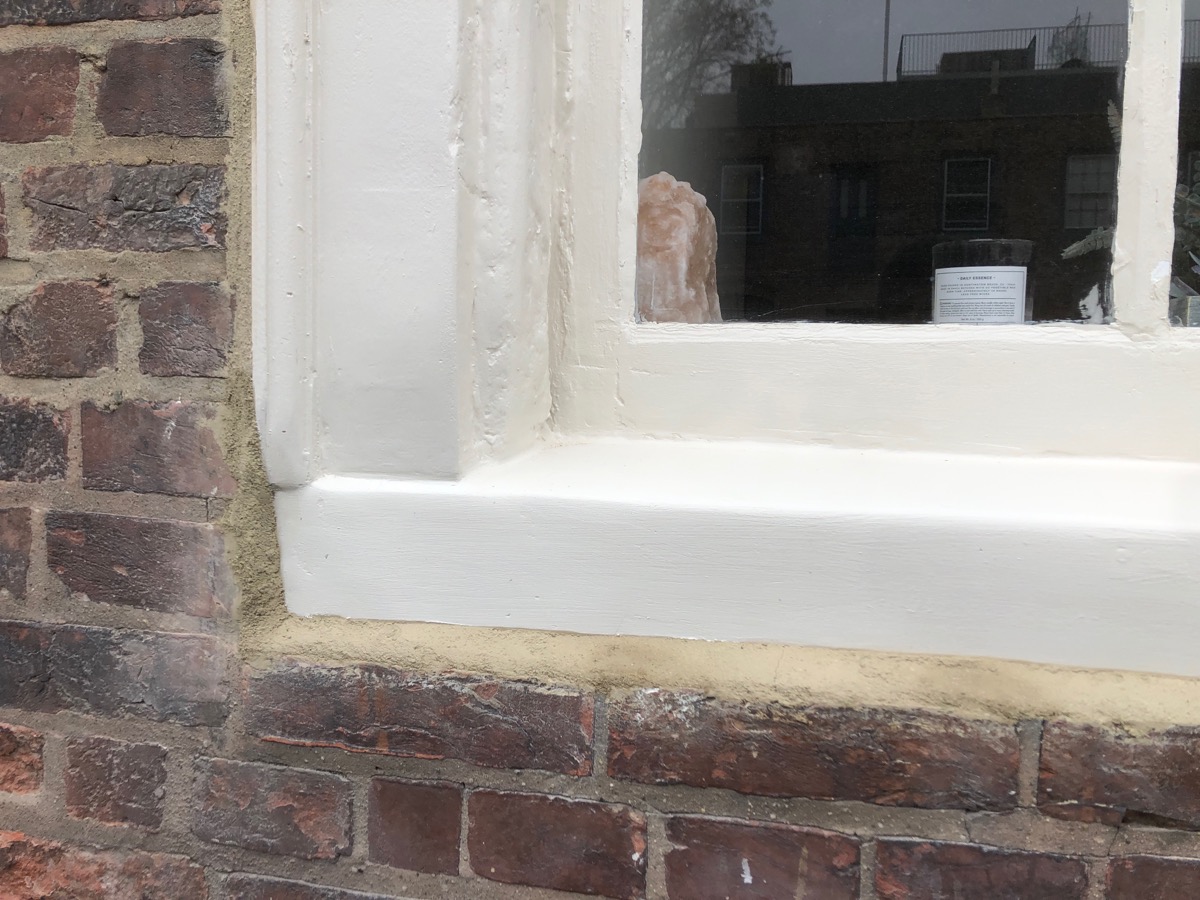
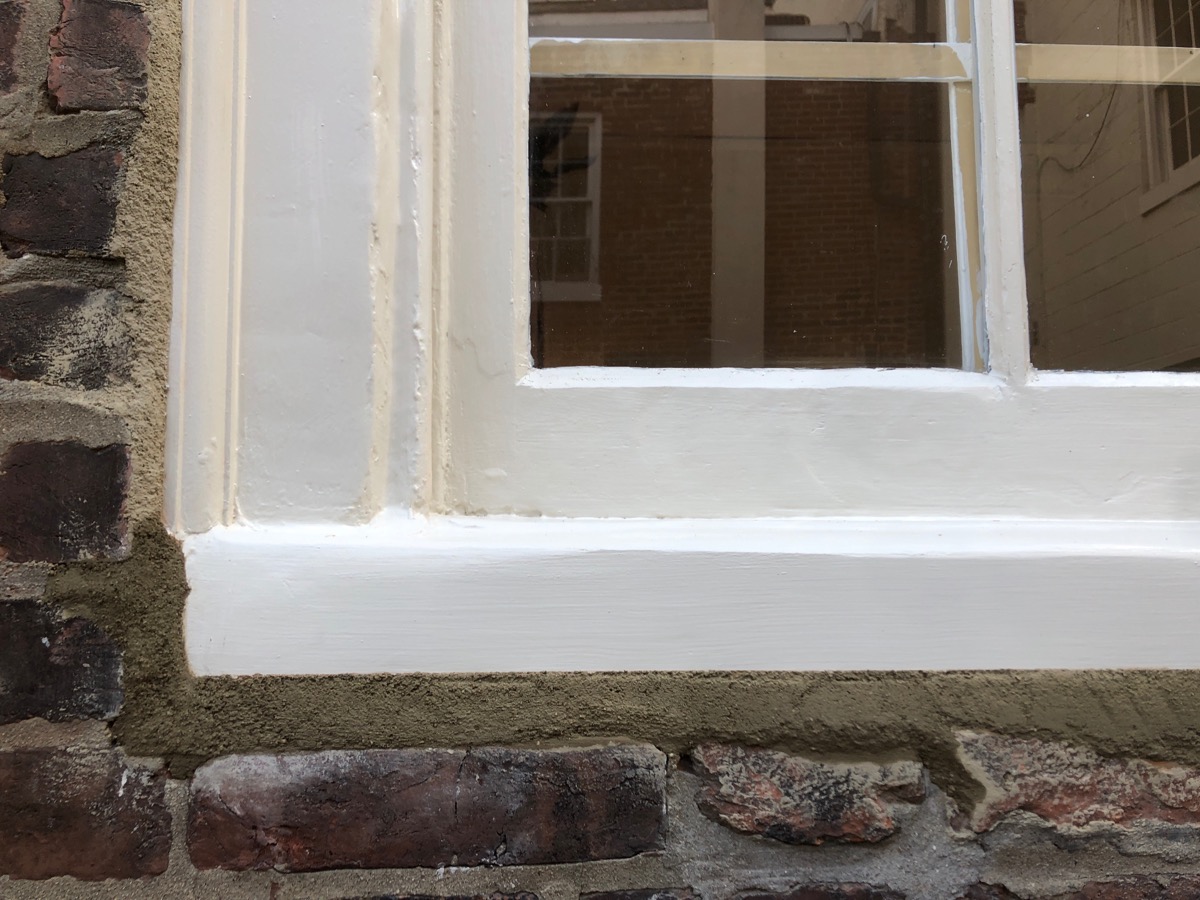
The last step before painting is caulking. We like to view caulk as a type of paint. It provides a seal from the weather. It also gives us a chance to create clean lines where two colors meet.
The final phase is painting. This is the fun stuff! No more noise and mess. The quiet of a brush gliding over freshly laid primer. This is our reward after all that hard, dirty work.
After everything is completed, we use a razor blade and scrape the windows and windex them to shine.

ADDITIONAL PROJECT PHOTOS
MORE FEATURED PROJECTS
Queen Village, Philadelphia
Victorian Window Bay Painting & Restoration
This famous row of Voctorians seems to get photographed and instagrammed every day! 705 S. 3rd had fallen into major disrepair. The metal bay was completely falling apart in spots, especially the seams, which allow water (and wildlife) to enter.


Merion Station
Interior Painting & Window Replacement
This 1920’s bungalow style house is quite unlike the other houses in the area. We painted the entire exterior, and installed new windows throughout, adding in a 3-panel picture window which opened up the first floor to great possibilities!
